Big Apple Pie
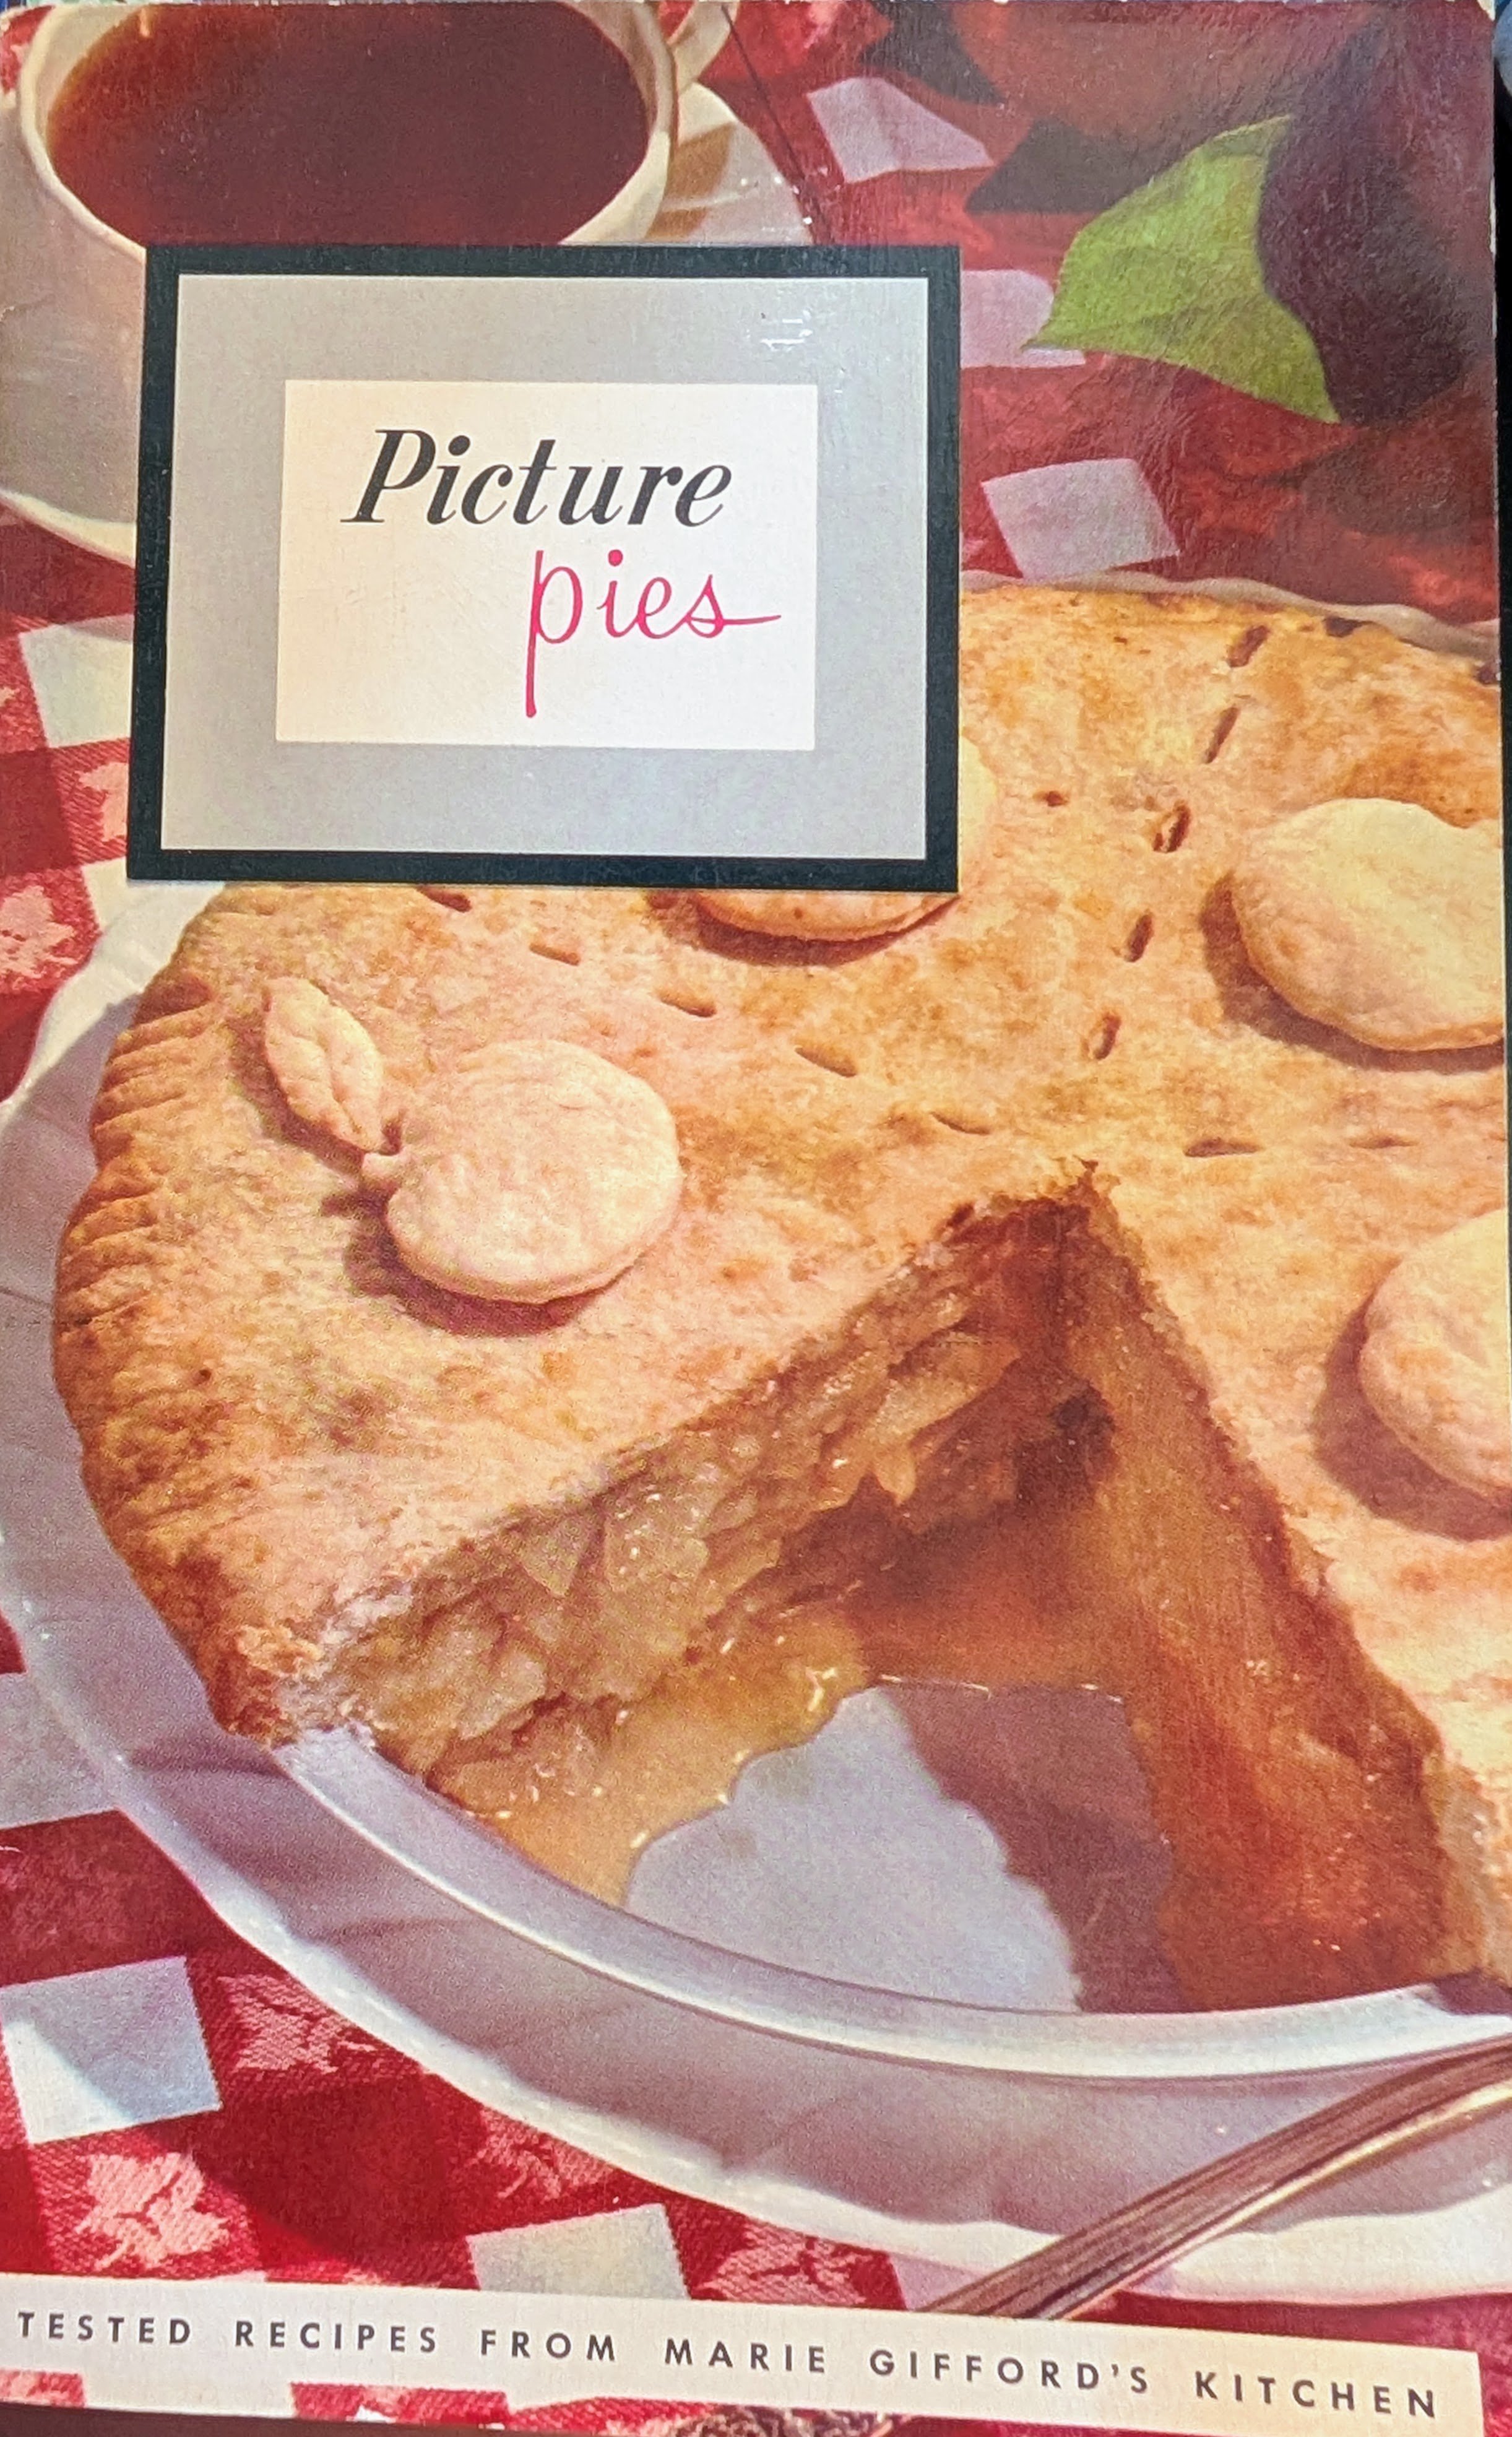
This recipe came from a little booklet called “Picture Pies (pg.11), Tested Recipes From Marie Gifford’s Kitchen.” It was published by Armour And Company, Chicago 9, Illinois, in 1953.
Little cook booklets like these were often picked up at the market when grocery shopping. This copy used to belong to my Great Aunt Jean. There are so many fun recipes in this little booklet that I can’t wait to share, but I think this is the perfect one to start with. Who doesn’t love an apple pie?
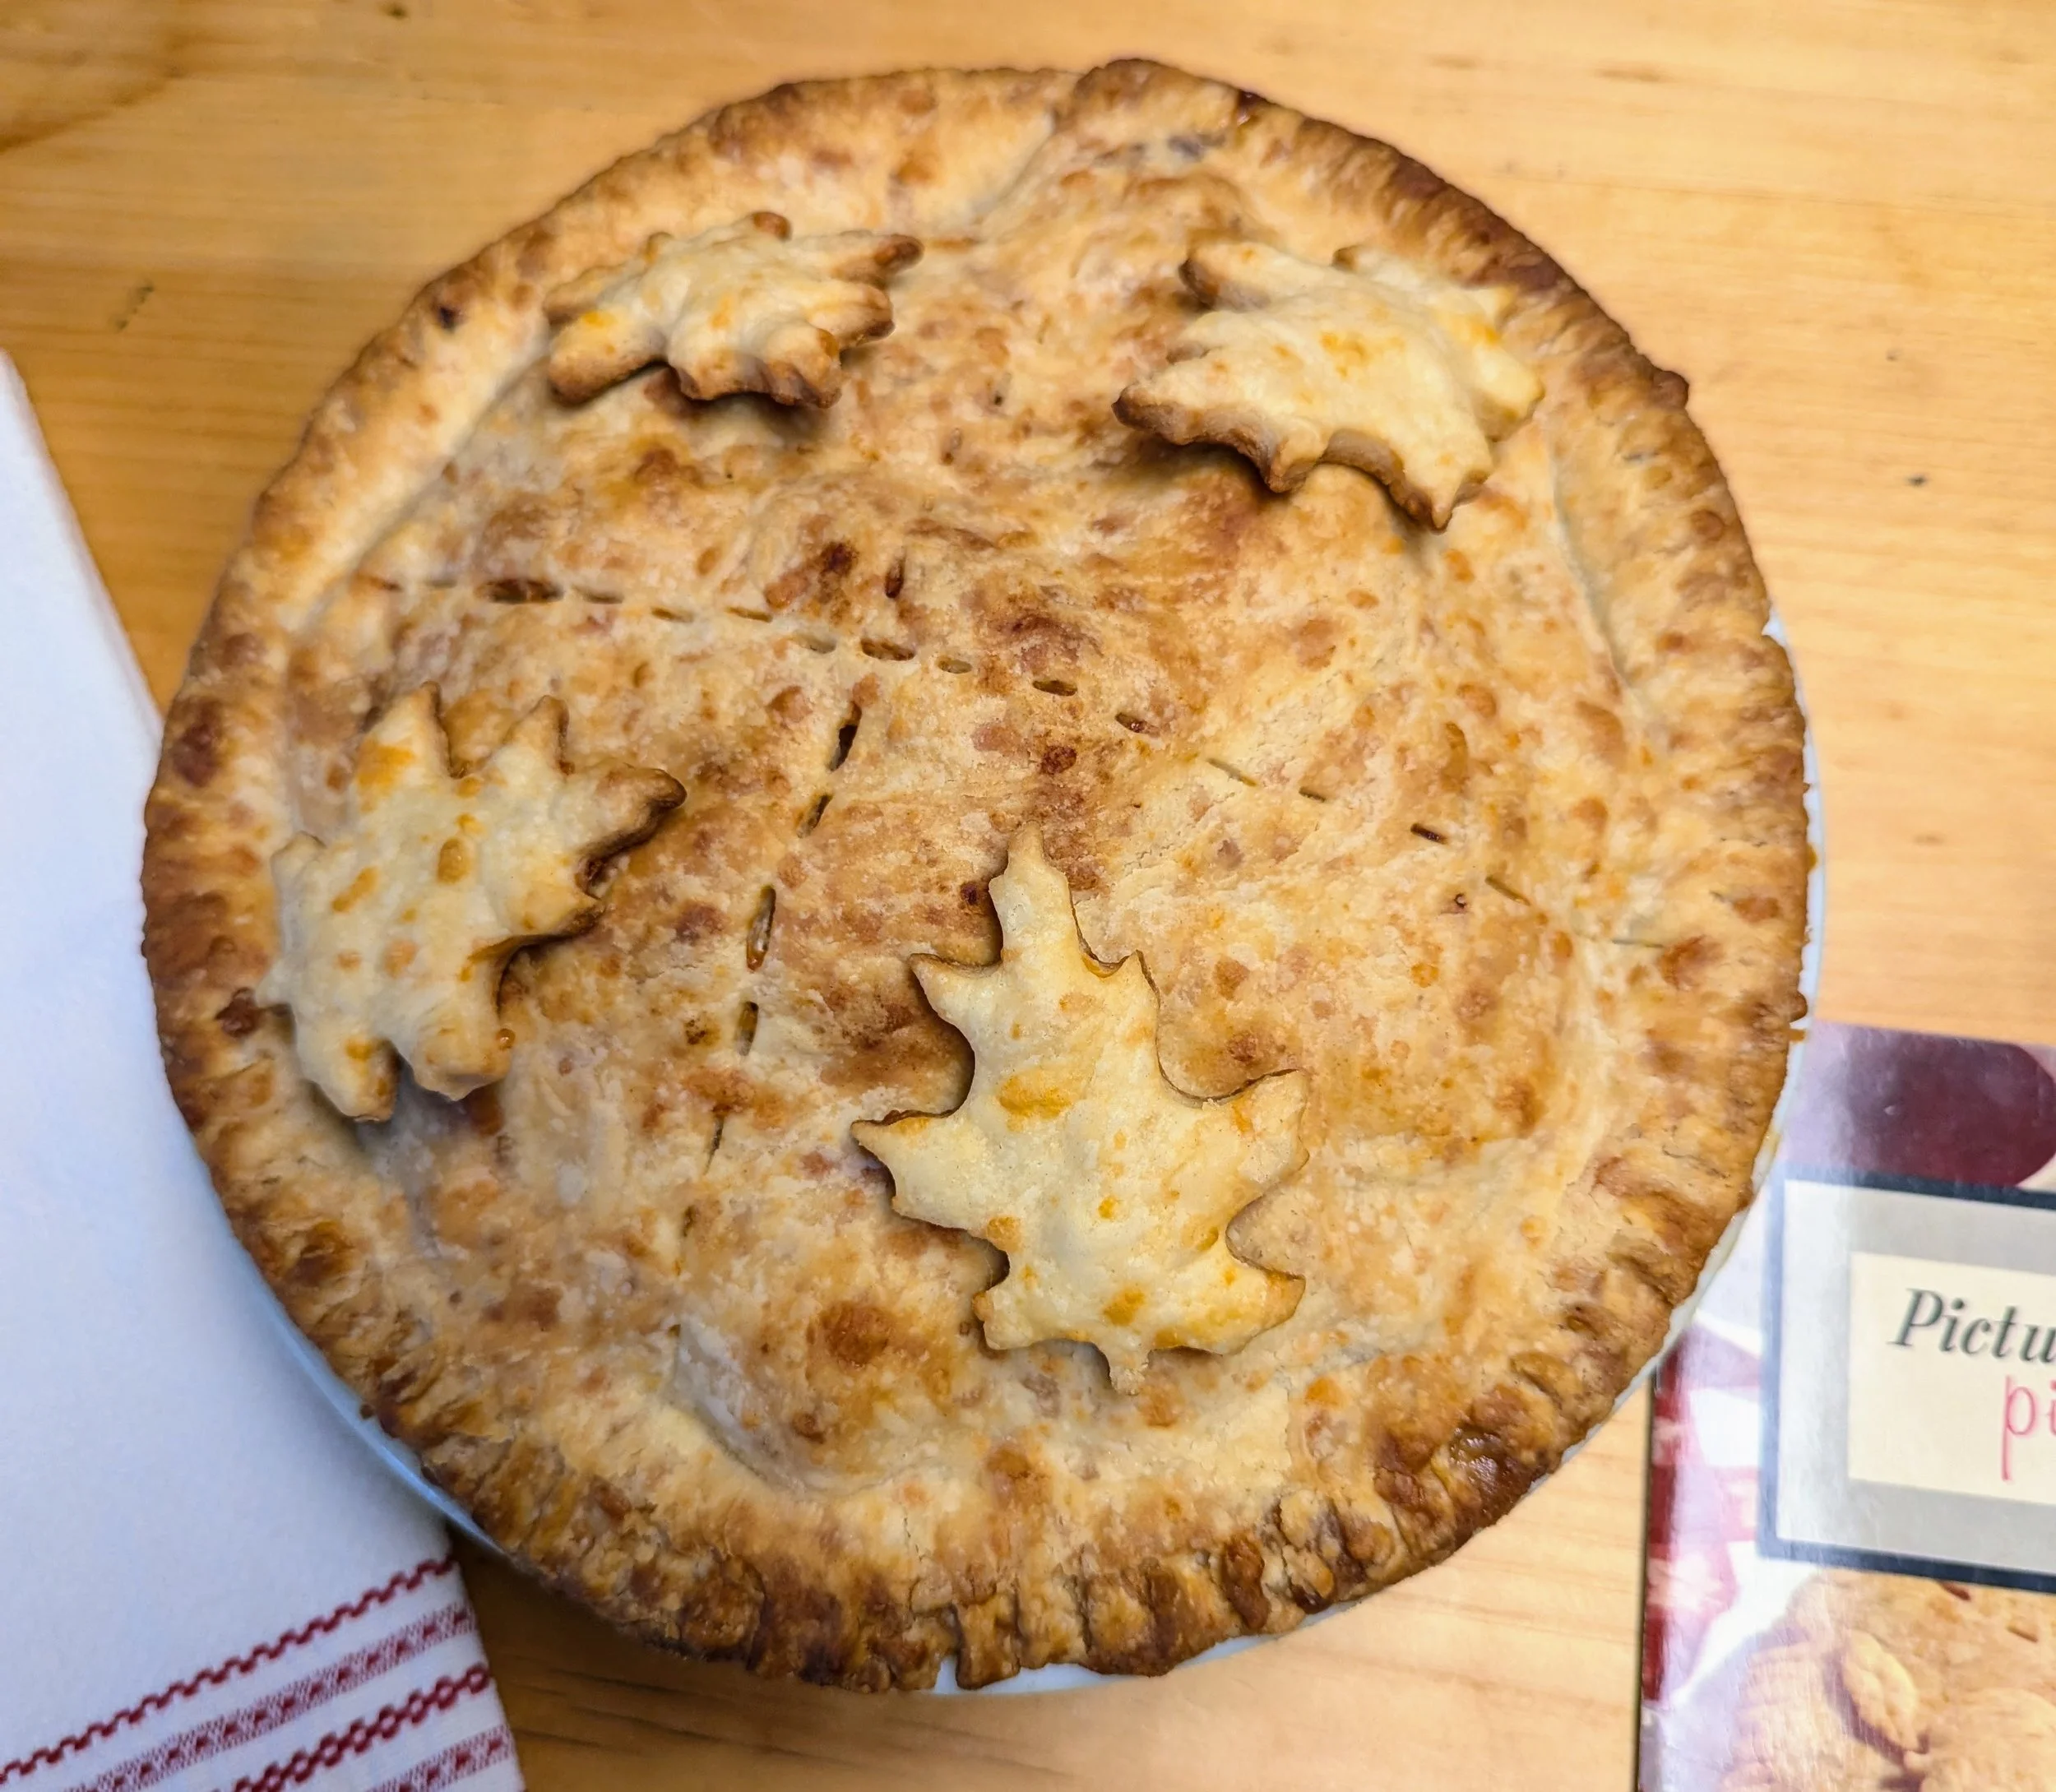
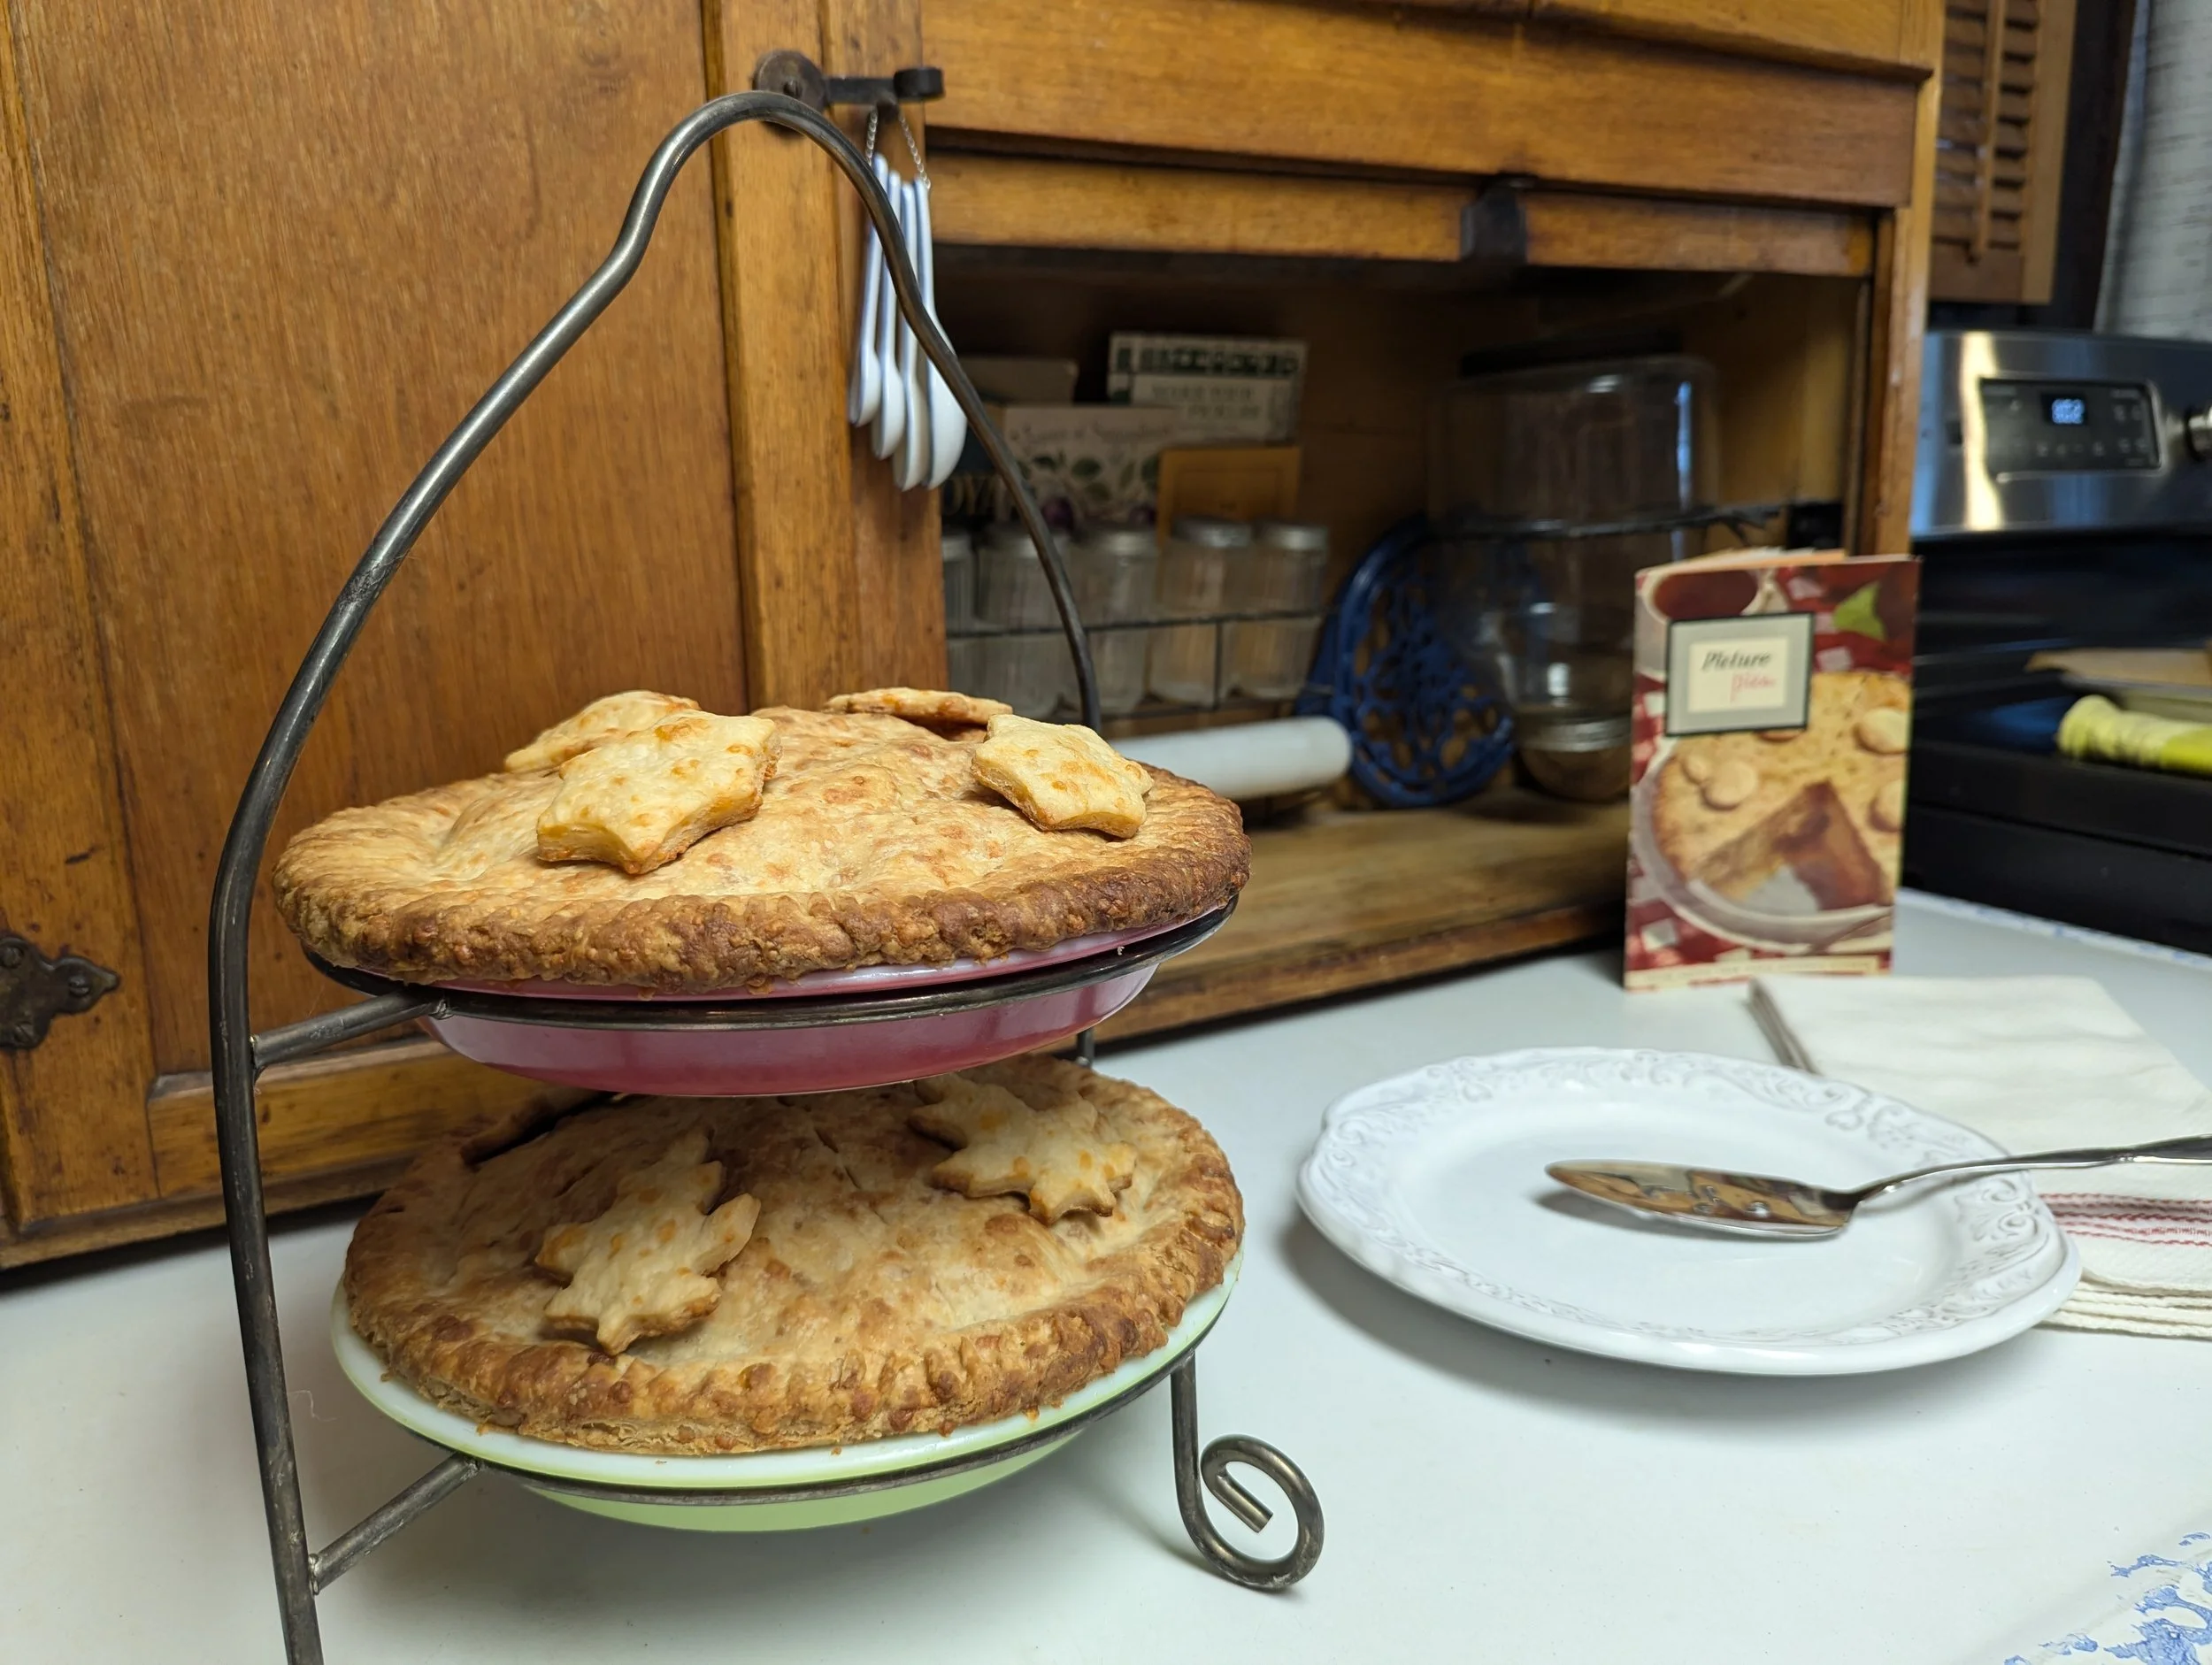
This pie was honestly so delicious. What sets it apart from other apple pies is the Cheddar cheese in the crust. The lard makes the crust nice and flaky. You definitely can’t substitute it. And with the cheddar, its almost like an extra decadent cheeze-it.
I’ve made it about 5 times now, and there is very little I’d tweak.
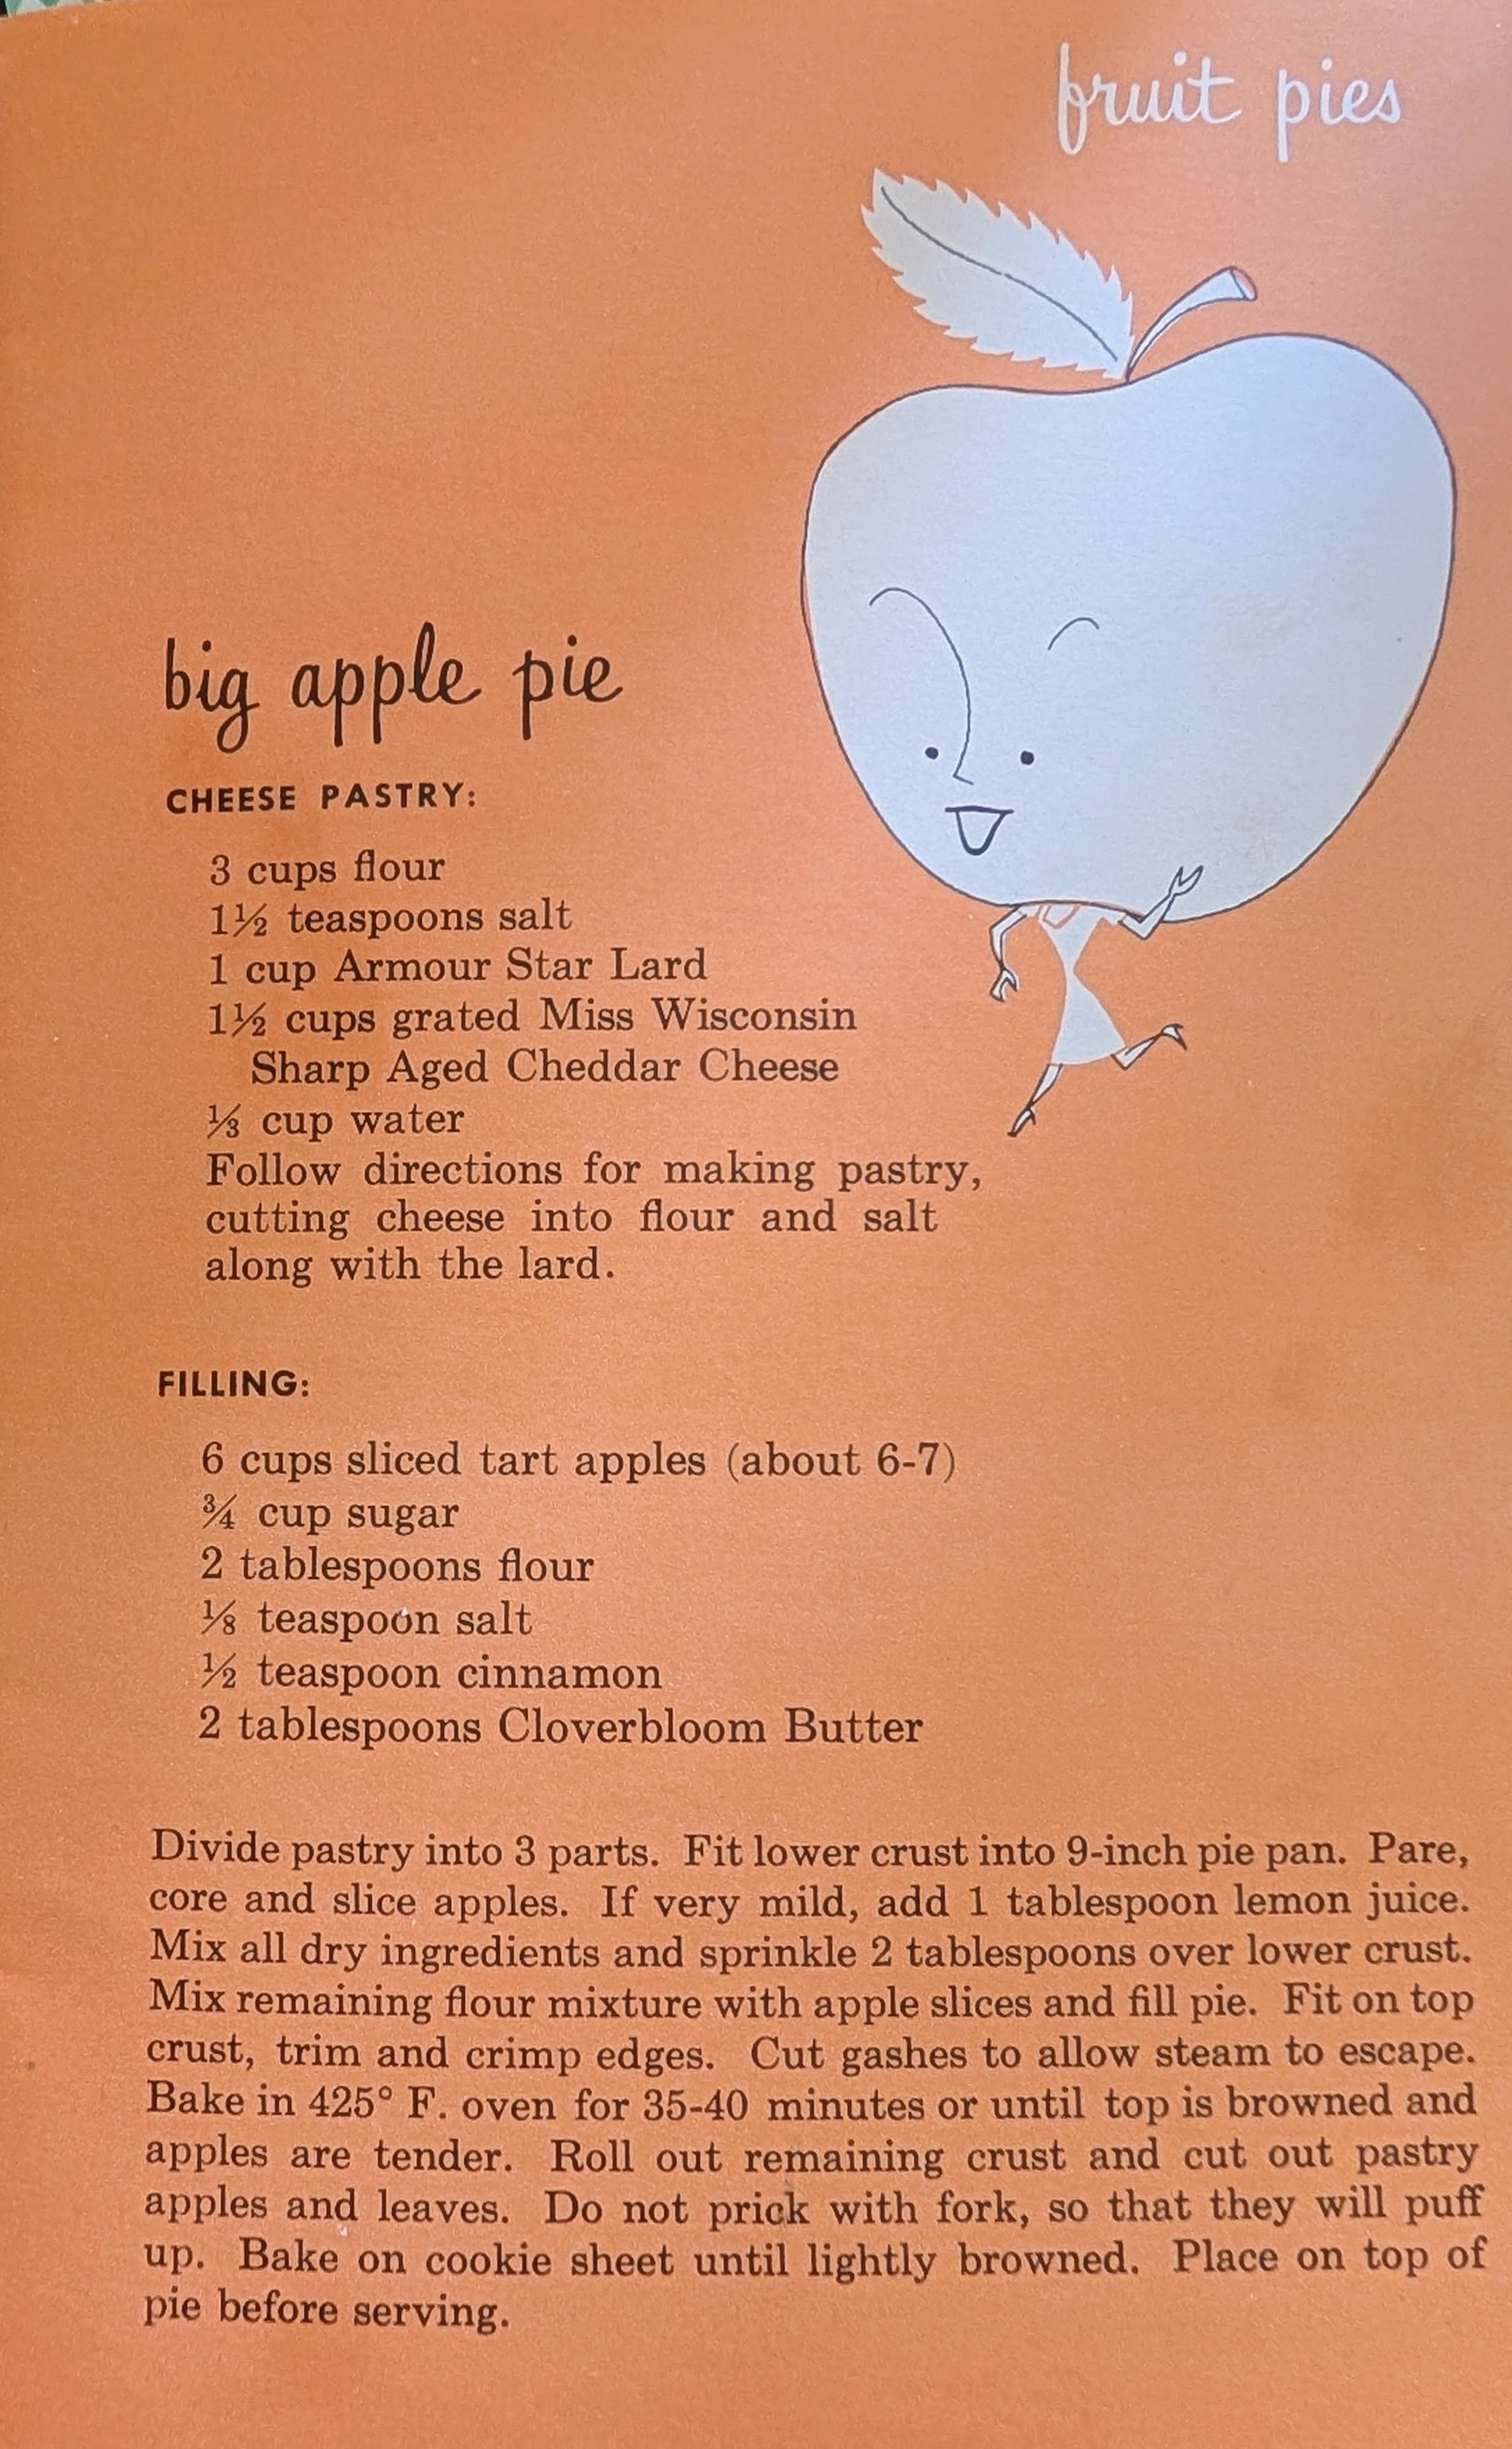
I love the little illustrations in vintage cookbooks.
Preheat oven to 425* F
Cheese Pastry:
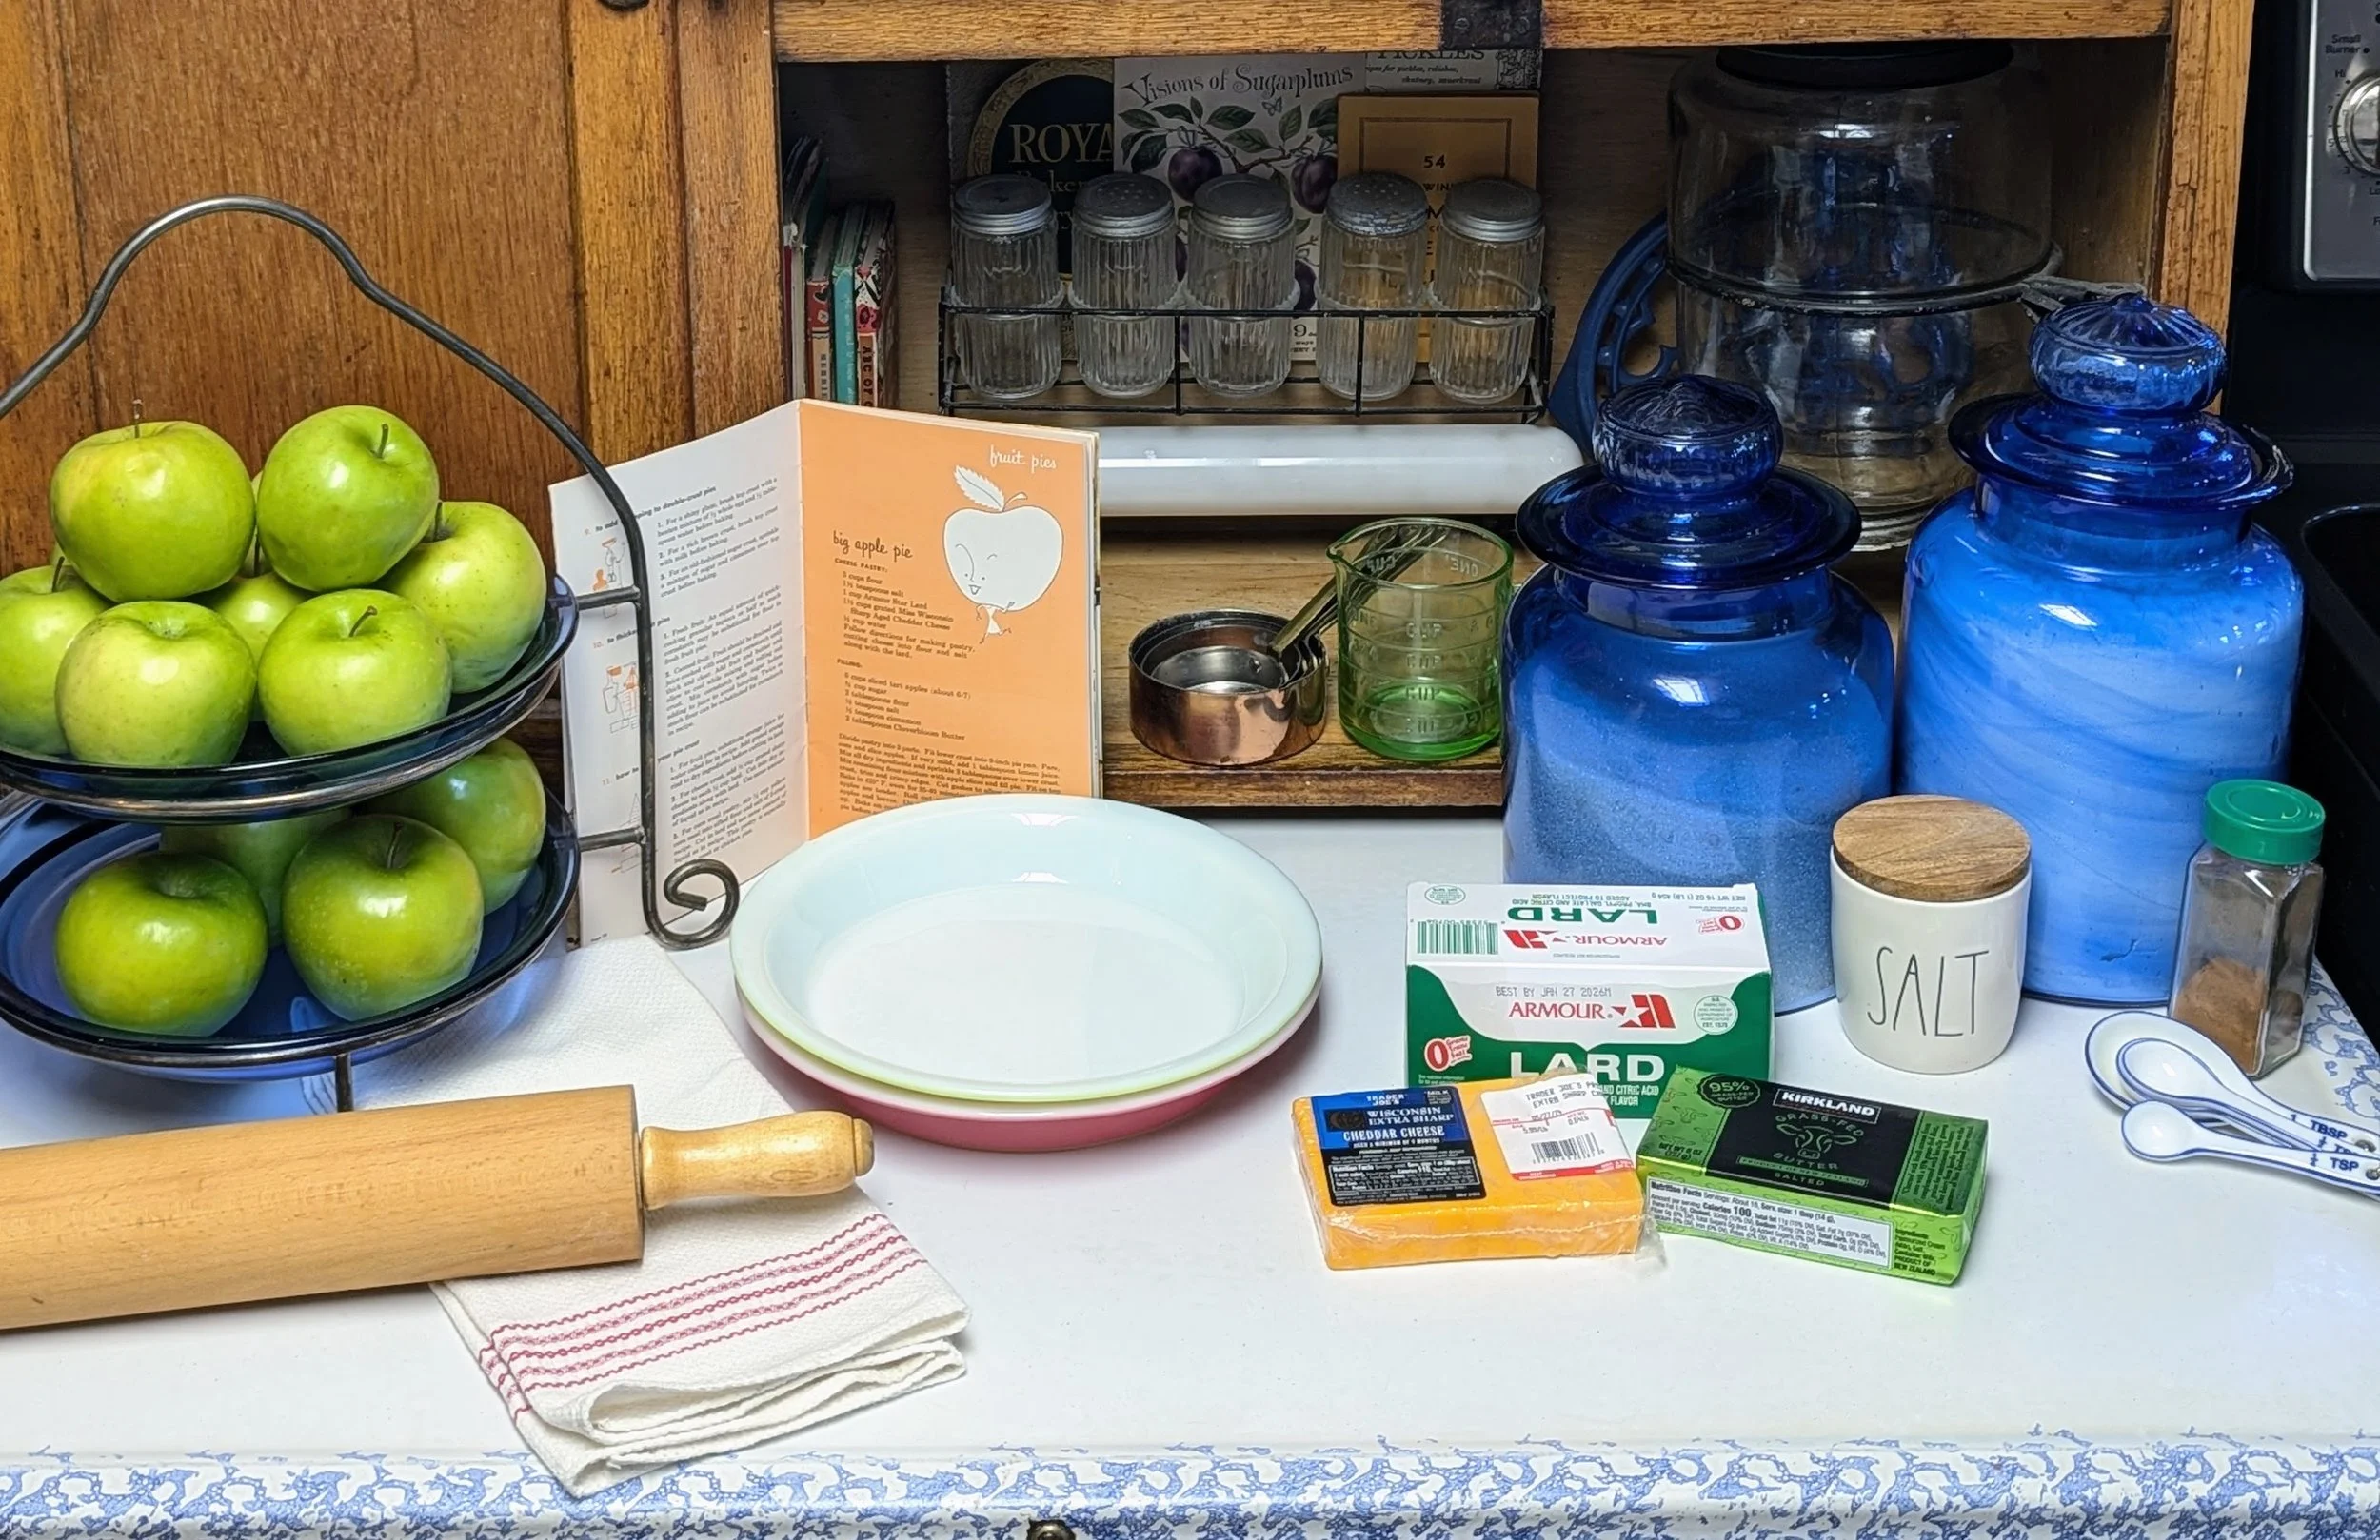
3 C Flour
1 1/2 t Salt
1 C Armour Star Lard (They do still make this brand)
1 1/2 C grated Miss Wisconsin Sharp Aged Cheddar Cheese (I used aged yellow cheddar from Trader Joe’s, and it worked out perfectly)
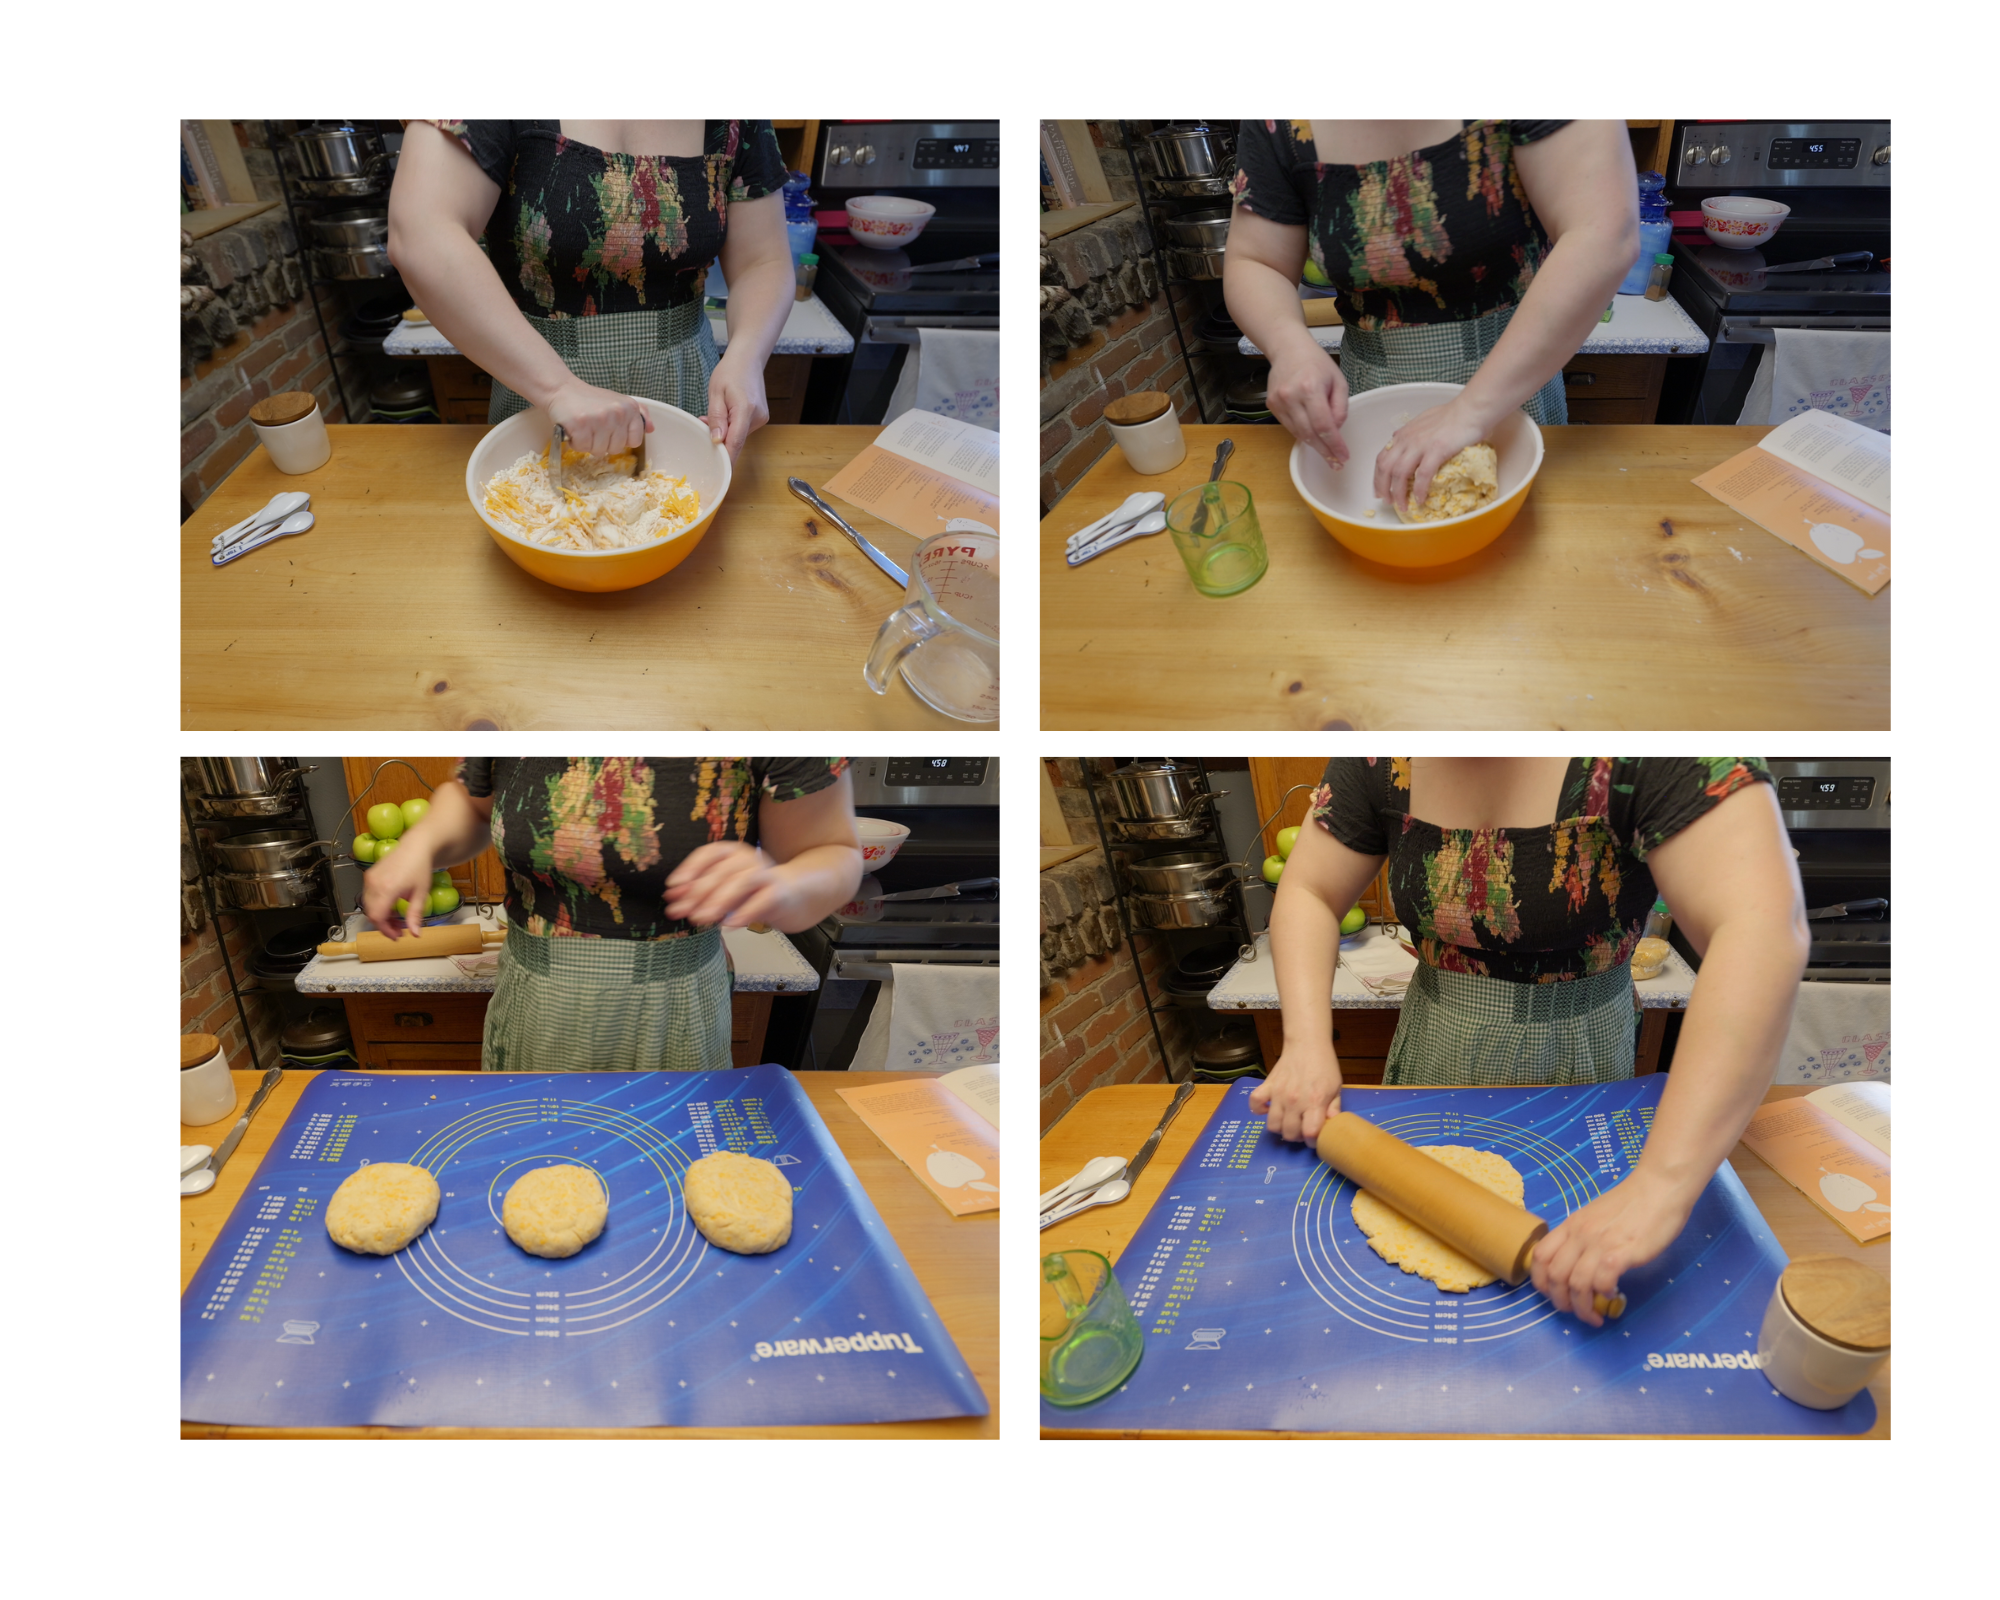
Follow directions for making pastry, cutting cheese into flour and salt along with the lard
Making the Pastry: (pg5)
Using a pastry blender or two forks, cut lard into flour and salt until mixture resembles coarse meal.
Sprinkle entire amount of water over dry ingredients. Press dough with knife until dough just holds together.
Form required amount of dough into a ball with hands. Use lightly floured pastry cloth and sock for ease in rolling.
Roll dough lightly from center edges, releasing pressure at edge to keep into perfect circle 1 inch larger than pan. Pastry should be about 1/8 inch thick.
To place crust in pan, roll dough over the rolling pin, transfer to pie pan and unroll into place. Crust will not break if this method is used.
To cut off extra pastry quickly, press palms of hands to edge of pie pan. Seal edges with tines of fork or crimp with fingers. Cut gashes in top to let steam escape.
Divide pastry into 3 parts. Fit lower crust into 9-in pie pan.
Filling:
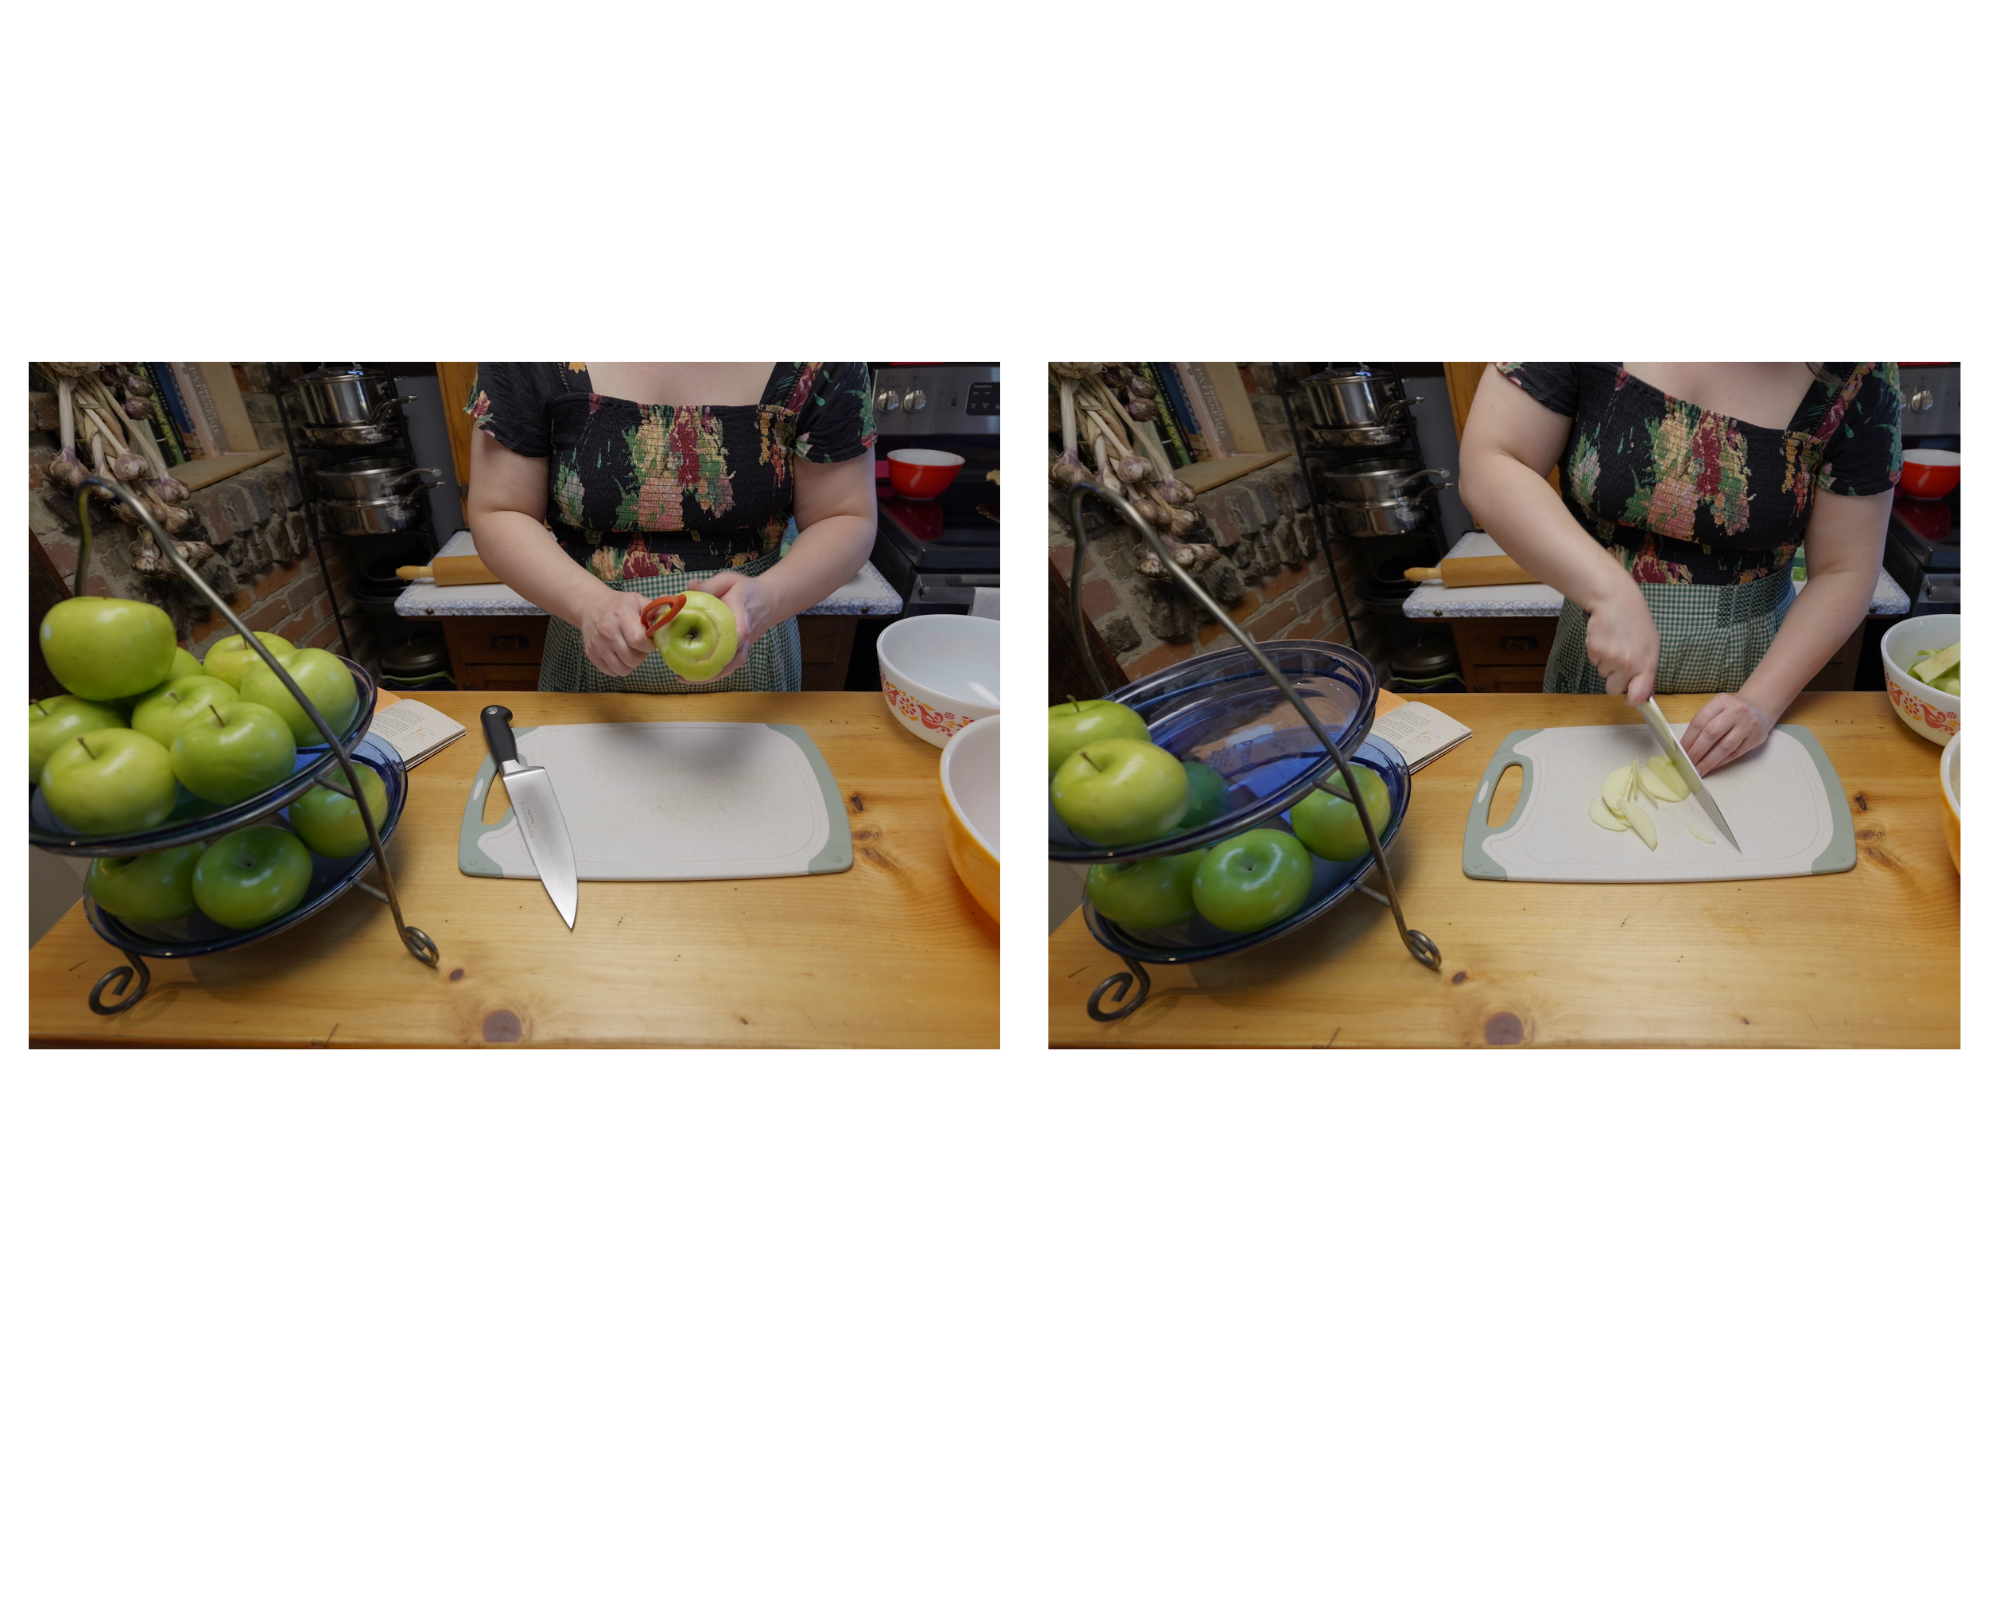
6 C Sliced tart apples (about 6-7)
3/4 C Sugar
2 T Flour
1/8 t Salt
1/2 t Cinnamon
2T Cloverbloom Butter
Pare, core and slice apples. If very mild, add 1 tablespoon lemon juice.
Mix all dry ingredients and mix 2 tablespoons over bottom crust. (My apples were still very runny after I made my first pie, so I added a little extra flour the next time. It fixed the bit of sogginess. Cornstarch would probably work too.)
Mix the remaining dry mixture with the apple slices, and fill the pie.
Fit on top crust, trim and crimp edges. Cut gashes to allow steam to escape.
Bake in a 425* F oven for 35-40 minutes. Or until top is brown and apples are tender.
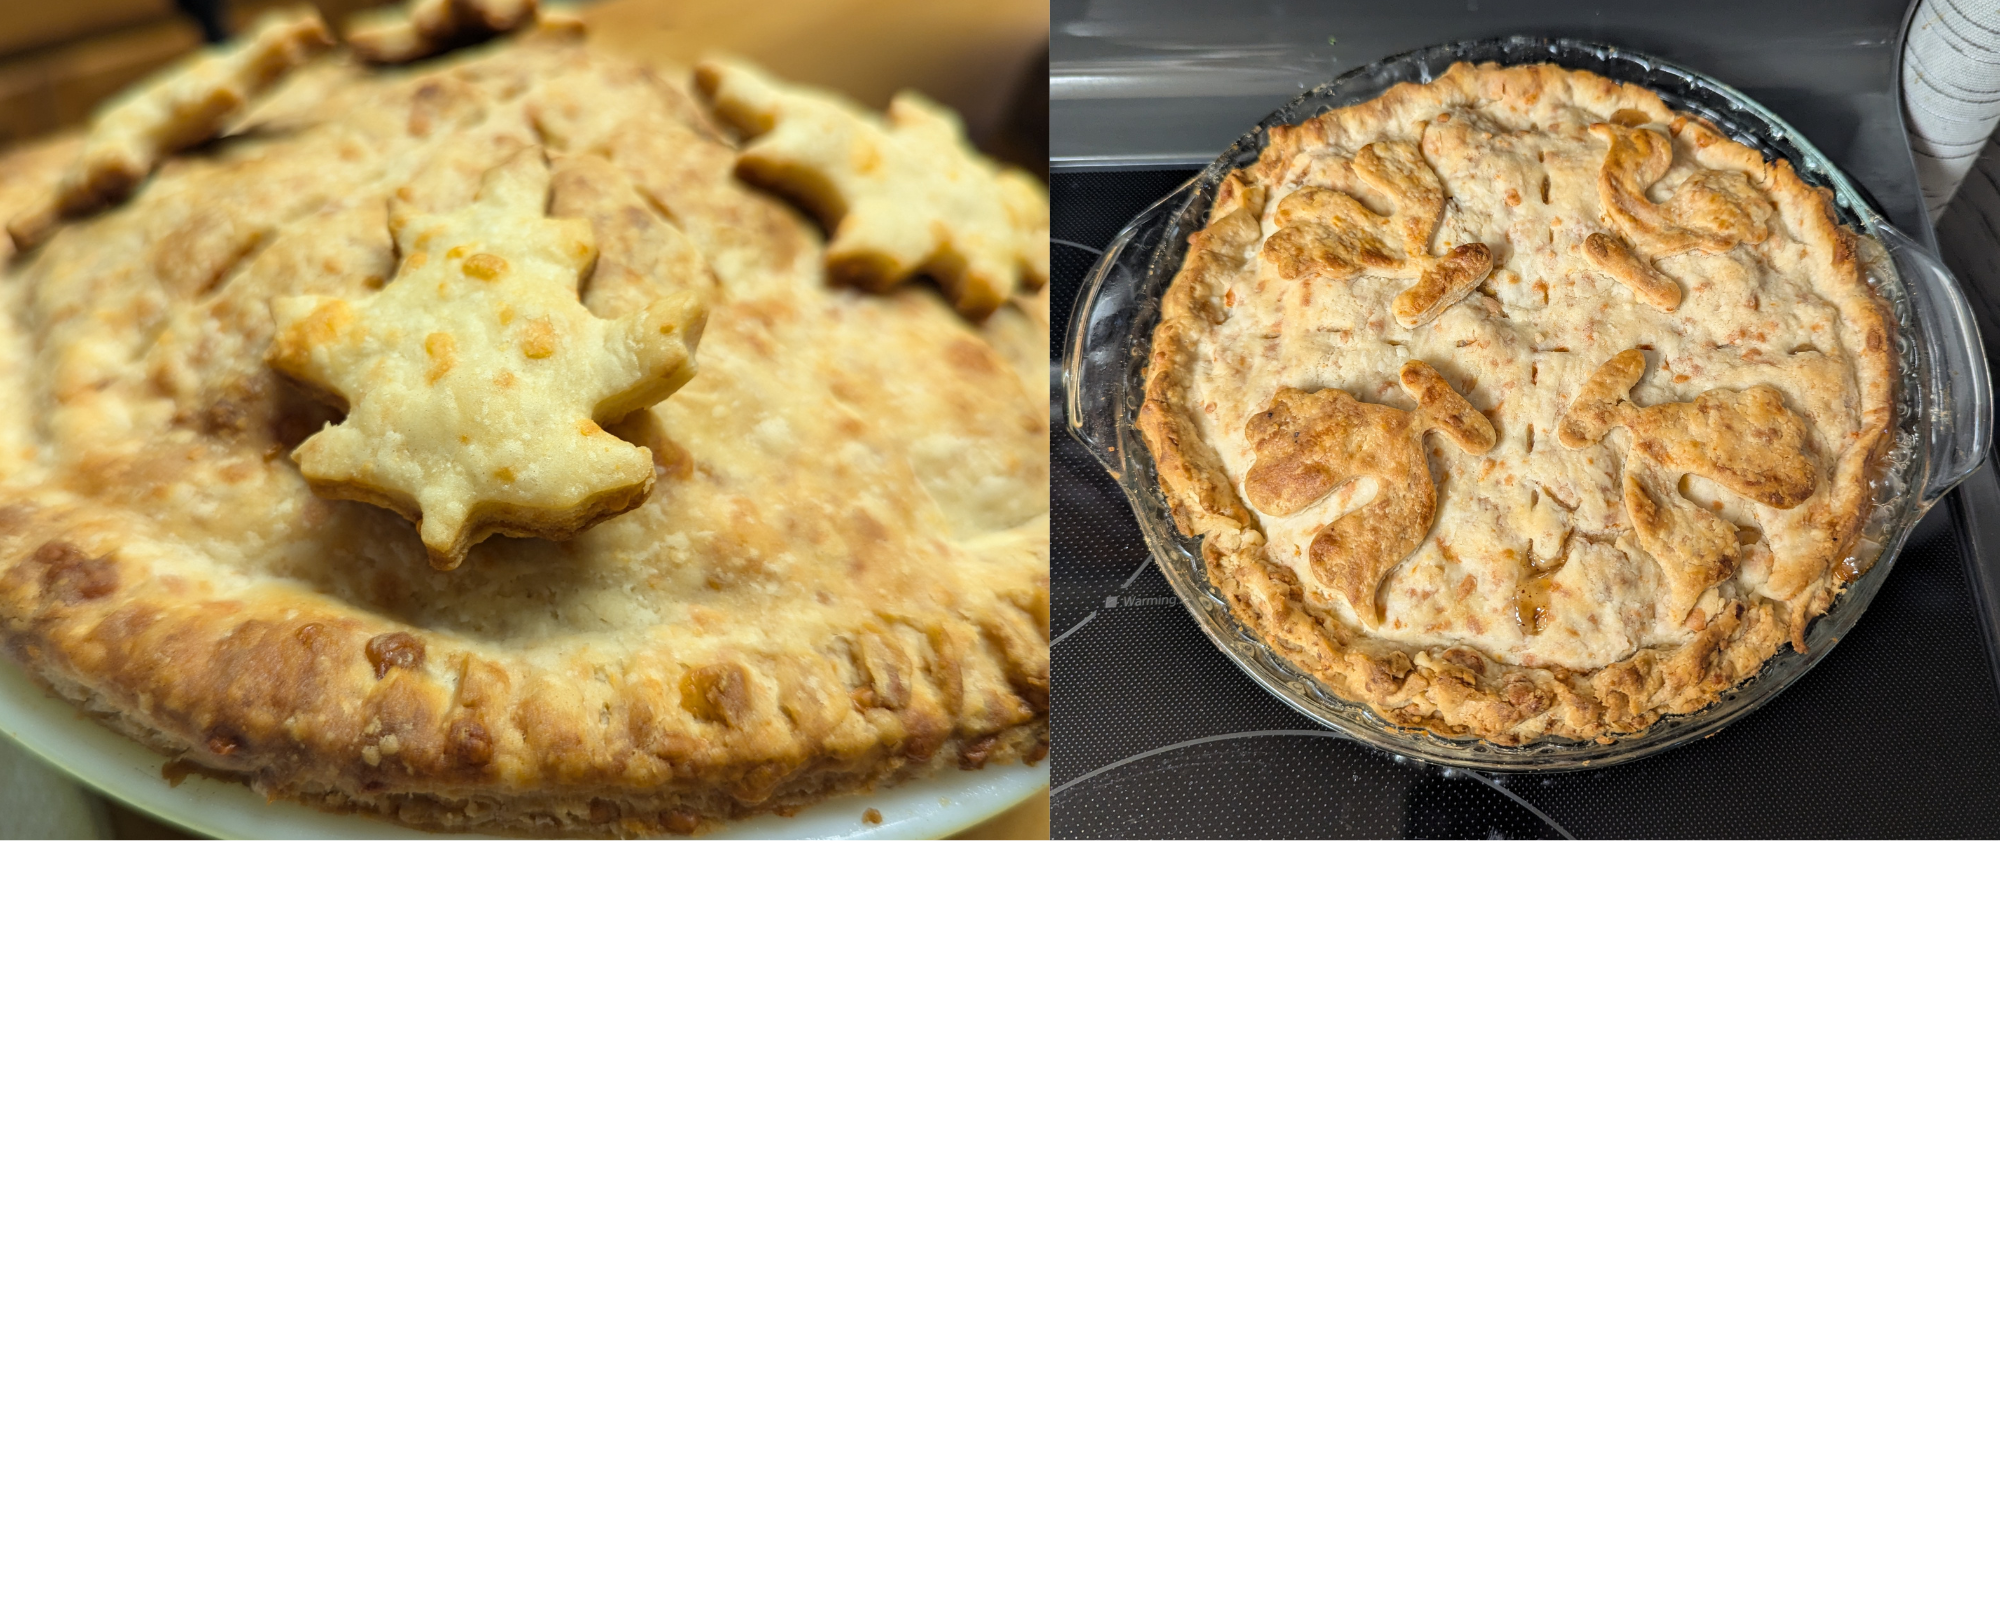
(I actually do the next step before putting the pie in the oven. When you bake the shapes that top the crust on a cookie sheet, they won’t stick to the top of the pie very well. If you bake the pie with the shapes on top of the crust, they bake into the crust beautifully.)
Roll out remaining crust and cut out pastry apples and leaves. (When I made this for thanksgiving, I made little chicken shapes with a cookie cutter, and it was perfect.)
Do not prick the shapes with a fork, because you want them to puff up. The recipe states to bake them on cookie sheets, but I really do prefer baking them directly on the pie for the full 35-40 minutes.
There was extra dough, so feel free to cut out extra little shapes, so you can have some rich and tasty little crackers to snack on!
The first picture shows what it looks like if you bake the shapes separately on a sheet pan, and the second picture shows the shapes baked directly on the pie.
Enjoy!!!


